
How to prepare Time-Links
IMPORTANT: ESO is now offering use of the web application p2 for Phase 2 preparation for all Paranal observing runs from Period 102 onward. The web application p2 fully replaces the use of P2PP for the preparation of the Phase 2 observing material for all telescopes/instruments for both Service and Visitor Mode runs on Paranal. Please check our help section about p2 for instructions on how to notify ESO when your material is ready.
This tutorial provides a step-by-step example of the preparation of a set of Time-Link containers with XSHOOTER at the ESO-VLT. The specifics of this tutorial pertain to the preparation of Time-Links for Period 101 onward.
To follow this tutorial you should have familiarity with p2 : the web-based tool for the preparation of Phase 2 materials. Please refer to the main p2 webpage (and the items in the menu bar on the left of that page) for a general overview of p2 and generic instructions on the preparation of Observing Blocks (OB). Screenshots for this tutorial were made using the demo mode of p2, but should not differ in any way from one's experience in preparing your own OBs under your run.
We will assume now that you are already familiar with the definition of Time-Link containers. For more information please see the Help page, at the section ESO Phase 2 Observong Material.
Because there is a number of rules applied to the OBs belonging to a time-link container the reader is strongly encouraged to consult the Servince Mode Guidelines pages before making use of this type of container.
0. Goal of the run
Your goal here is to perform multi-epochs spectroscopic monitoring of Eta-Car using XSHOOTER. For the sake of this tutorial, we will assume the following:
- The first epoch should be started between January 1st and January 31st;
- There will be 4 epochs in total;
- Each epoch will have a total execution window of 2 weeks;
- The time window between two consecutive epochs should be at least 3 weeks.
1. Getting started
For the sake of this tutorial, we will use the p2 demo facility: https://www.eso.org/p2demo
This is a special facility that ESO has set up so that users who do not have their own p2 login data can still use p2 and prepare example OBs (for example, while writing a proposal to get the overheads right!). You cannot use it to prepare actual OBs intended to be executed. When you prepare such OBs you should use your ESO User Portal credentials for p2 (with http://www.eso.org/p2).
After directing your browser to the p2 demo facility the main p2 GUI will appear as follows:
2: p2
2.0: p2 demo
For the sake of this tutorial, we will use the p2 demo facility: https://www.eso.org/p2demo
This is a special facility that ESO has set up so that users who do not have their own p2 login data can still use p2 and prepare example OBs (for example, while writing a proposal to get the overheads right!). You cannot use it to prepare actual OBs intended to be executed. When you prepare such OBs you should use your ESO User Portal credentials for p2 (with http://www.eso.org/p2).
After directing your browser to the p2 demo facility the main p2 GUI will appear as follows:
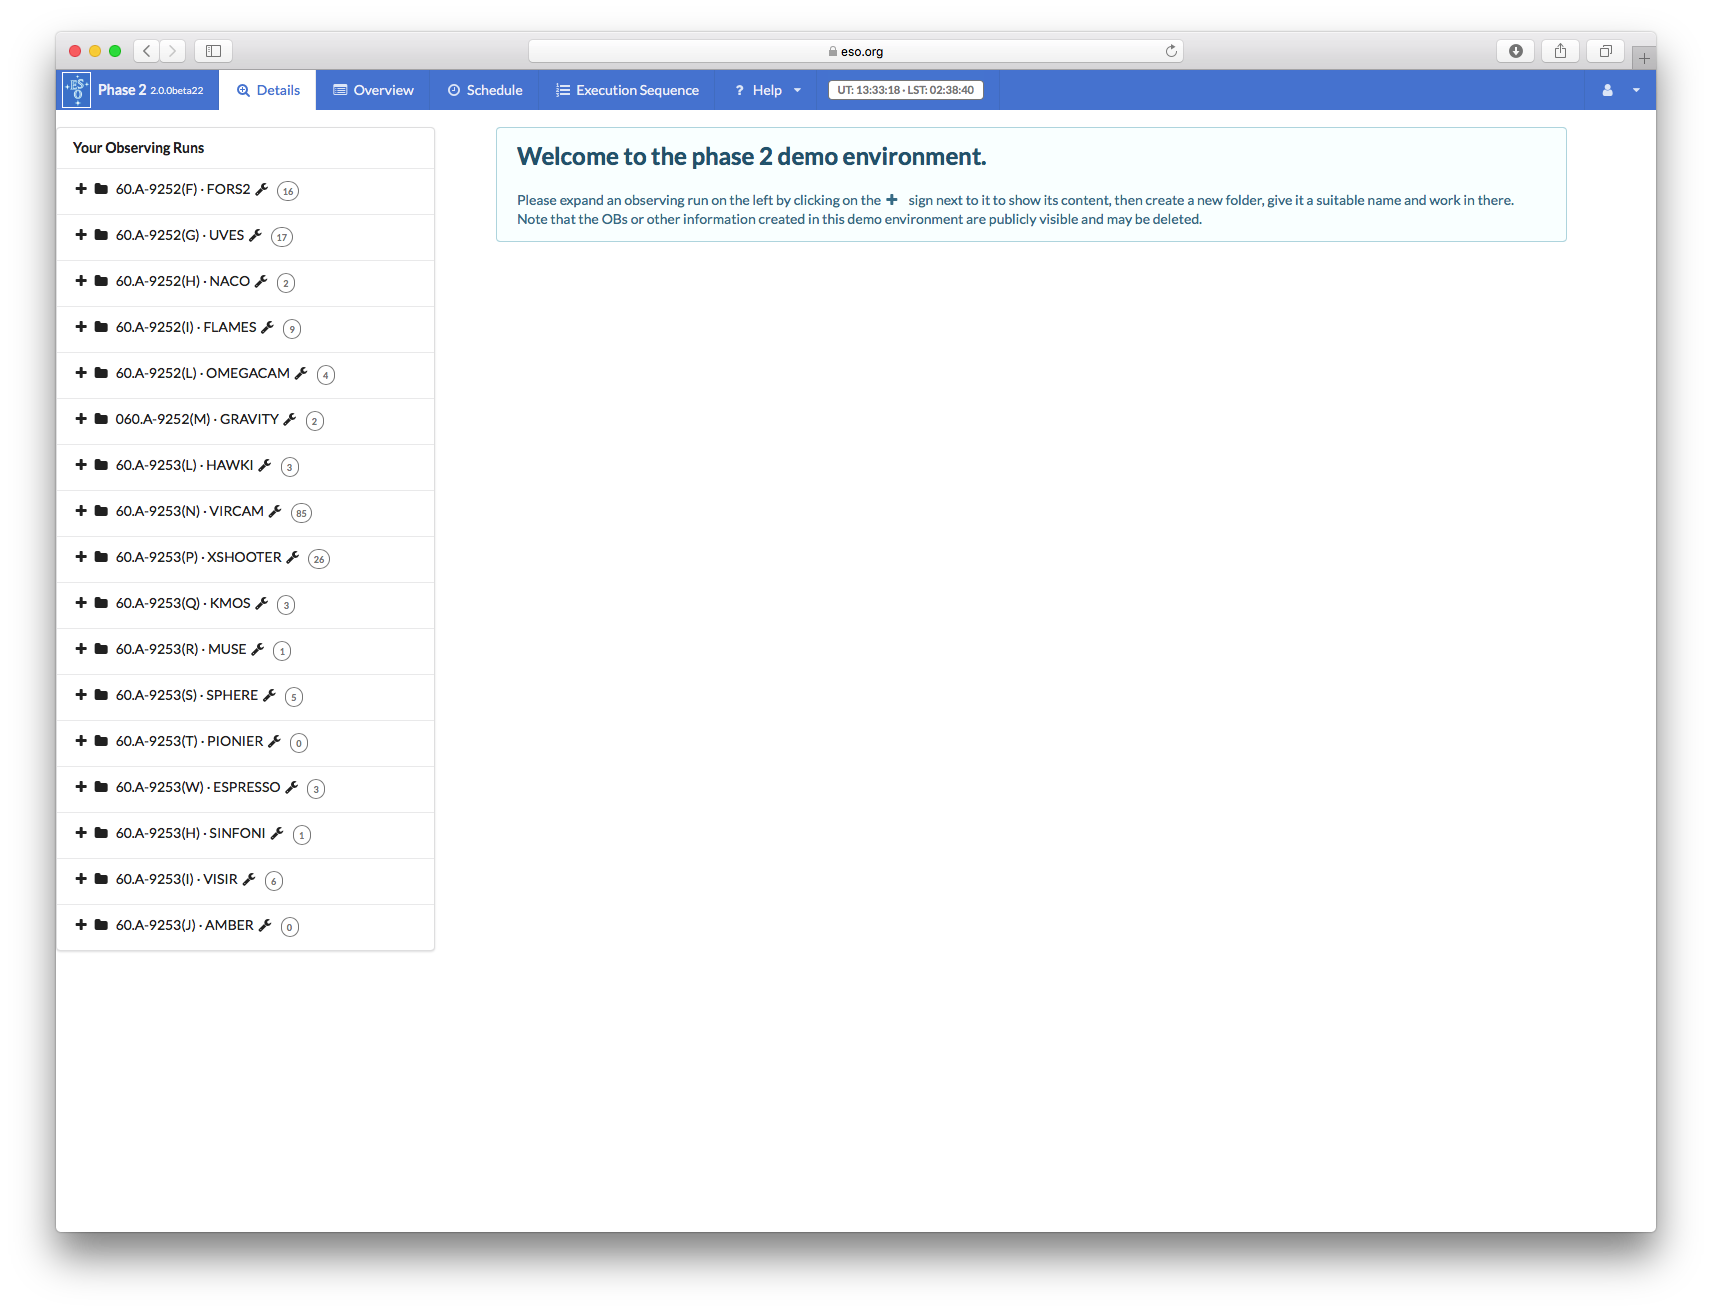
Runs for a number of instruments appear in the lefthand column, since the p2 demo facility is used for all of them. Similarly, if you log into p2 (instead of p2demo) with your own ESO User Portal credentials, you will get the list of all the runs for which you are PI, or for which you have been declared as a Phase 2 delegate by the respective PI(s).
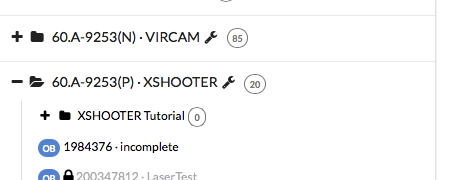
Open the folder corresponding to the XSHOOTER tutorial run, 60.A-9253(P) by clicking on the + icon next to it. In this tutorial we assume that time was allocated in Service Mode. This is indicated by the small wrench icon that appears next to the RunID. "Inside the run" you will see (at least) one folder, called "XSHOOTER Tutorial". That folder contains the final product of the tutorial you are now reading. You can refer to the contents of that folder at any time, perhaps to compare against your own work.
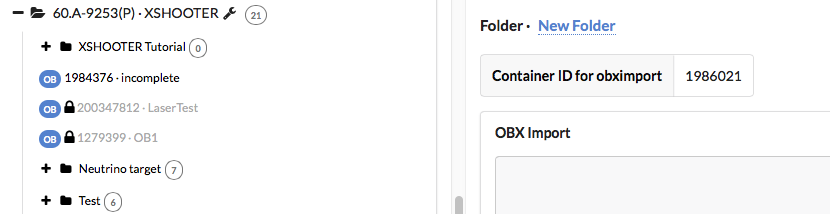
You can now start defining your observations. In the p2 demo you must first start by creating a folder, within which you will put your own content.You can create a folder by clicking on the icon New Folder. Please notice that a folder named by default New Folder will appear at the bottom of the list of items in the run.
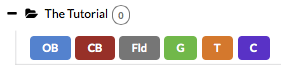
You can give the folder a new name by clicking on the blue 'New folder' text on the top, in this tutorial the name will be "The Tutorial", but you can set the name of your folder to be (almost) anything you like.
Important: because the p2 demo is on-line and accessible to anyone you may see folders belonging to other people here, though after-the-fact clean-up is encouraged and possible.
2.1 Creating a loose OB
Please see here detailed instructions on how to create an OB.
3.0: Creating a Time-Link container
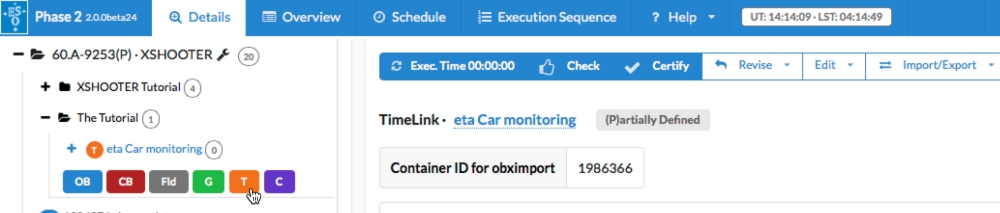
To create your first Time-link please open the new folder you created by clicking on the + icon next to it and then click on the orange T icon to create a Time-link container. The newly created Time-link will automatically be selected and displayed in the main part of the window. As for the case of the new folder you must click on the blue name field near the top to rename the group.
Hence, please rename the Time-link to "eta Car monitoring".
3.1: Creating OBs inside a Time-Link container
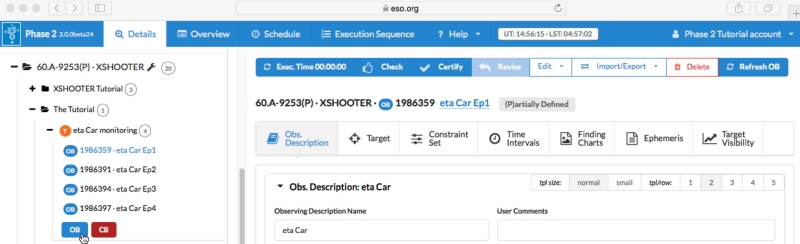
You can create an OB inside the Time-Link by expanding it using the + icon. Then click on the blue OB button. The new OB will appear inside the container. The OB can be filled as a normal loose OB. Please see details in the OB tutorial here.
In the example shown in the figure above, we have created 4 OBs inside the Time-Link. We will set the time intervals in the next section.
3.2: Setting the time intervals
As mentioned in the introduction to this tutorial, here we want to create a time-link of 4 OBs to perform a multi-epochs observation of Eta Car with XSHOOTER. We first set an absolute visibility window to the first OB of the concatenation. This is easily done by clicking on the OB eta Car Ep1 and the selecting the Time Intervals tab from the main window.
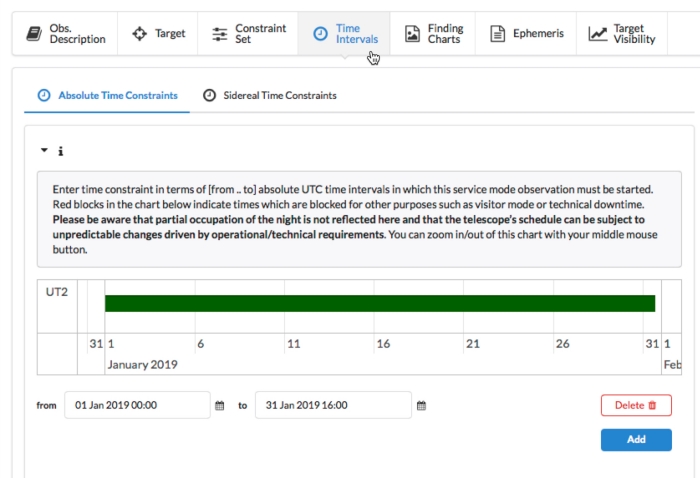
Once you select the Time Intervals window, you will be prompted with a panel showing the telescope occupation. Red blocks represent nights that are not scheduled as full nights of Service Mode, so you should aim to have as many as possible absolute time intervals outside the red blocks. It is possible that serivce mode OBs can be executed during red blocks (e.g. because the particular night is a half-night of Service Mode) but you should not rely on this possibility just based on this view. More detailed information (including the scheduling of half nights) is available via the ESO Observation Schedule Query Form. Please bear in mind though that the schedule does evolve during the period according to operational needs. Therefore include all possible absolute time intervals during the period, even if they fall entirely within red blocks.
To add an absolute time interval, just click the blue Add button below and to the right of the schedule. This will add a new "from" and "to" pair of fields, you can adjust the from and to dates and times by typing directly in the fields or by using the calendar (and following time) widgets to the right of each field. In order to enter the time constraint, please click on the Add button on the lower left. The enter time constraint in terms of [from .. to] absolute UTC time intervals in which this service mode observation must be started.
It is important to keep in mind that Absoute Time Intervals represent the intervals during which the OB can be started, not the intervals during which the OB must be started and finished. For an interval like the one above this is not really an important distinction. But in certain situations it can be, for example imagine you wish to obtain spectra before, during and after a planetary transit. If you have (say) 4 hrs of OB(s) (with an approved waiver of course), and the transit lasts 3hrs, and you need at least 15mins of observations before and after the transit, then you will have just a 30min long window, starting 45+6mins before and ending 15+6mins (remember there is ~6mins of overhead from the start of an OB before any science spectra are taken) the transit during which the OB must be started, and the Absolute Time Interval(s) must be set to these 30min intervals.
Each OB can have multiple time intervals (in general the more the better to improve the chances of execution). Just click the Add button to add additional interval(s). Each interval also has a delete button which allows you to remove intervals one by one.
The definition of absolute time intervals is only allowed on the first OB of a time link. If you wish to specify relative time intervals between time link OBs, please navigate to the schedule view.
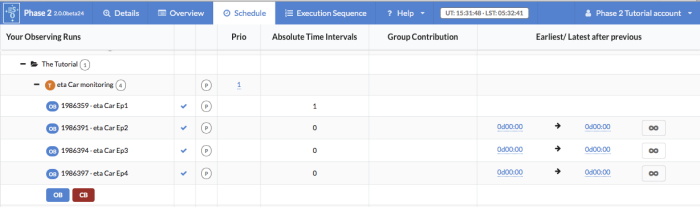
In the Schedule view you will see on the right hand side the list of the OBs and scheduling containers inside you Observing Run. Please see here a detailed description of the use of the Schedule view.
The OBs belonging to the Time Link containers eta Car EP2/3/4, that are not the first in the series, have the relative time constraints ”Earliest/Latest After Previous”, which can be edited in the Schedule view. The time delay is expressed in days and hh:mm format. These time constraints are relative in the sense that they refer to the time with zero point being the start time of the successful execution of the previous OB in the series.
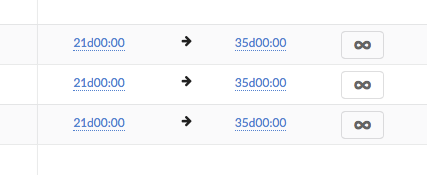
As explained at the beginning of this tutorial, we have assumed that the time between to consecutive epochs should be at least 3 weeks but not exceeding 5 weeks. Hence for each OB in the Time-Link under the Earliest/Latest After Prev. column select 21d (i.e. 21 days) and type 35d (i.e. 35 days).
As can be seen in the p2 main UI, under the Schedule tab and priority column, the priority is associated only to the container and not to the OBs within that given container. This implies that all the OBs of a given time-link share a unique priority although the sequence of their execution is given by the absolute and relative time intervals.
4. README, Finding Chart
With the completion of the time-link we consider this tutorial to be finished. However, the Phase 2 package preparation is completed only after providing the finding charts and the README file. The reader can refer to the following pages for a more detailed description of the final three steps:
5: Finishing the preparation: Check, Certify and Notify ESO
Please see here a description on hoe to conclude your preparation.