
How to prepare Concatenations
IMPORTANT: ESO is now offering use of the web application p2 for Phase 2 preparation for all Paranal observing runs from Period 102 onward. The web application p2 fully replaces the use of P2PP for the preparation of the Phase 2 observing material for all telescopes/instruments for both Service and Visitor Mode runs on Paranal. Please check our help section about p2 for instructions on how to notify ESO when your material is ready.
This tutorial provides a step-by-step example of the preparation of a set of Concatenation containers with XSHOOTER at the ESO-VLT. The specifics of this tutorial pertain to the preparation of Concatenations for Period 101 onward.
To follow this tutorial you should have familiarity with p2 : the web-based tool for the preparation of Phase 2 materials. Please refer to the main p2 webpage (and the items in the menu bar on the left of that page) for a general overview of p2 and generic instructions on the preparation of Observing Blocks (OB). Screenshots for this tutorial were made using the demo mode of p2, but should not differ in any way from one's experience in preparing your own OBs under your run.
We will assume now that you are already familiar with the definition of Concatenation containers. For more information please see the Help page, at the section ESO Phase 2 Observong Material.
0: Goal of the Run
In this tutorial we will prepare OBs for a simple example observing run, consisting of spectroscopy of Eta Car (RA(2000) = 10:44:39.1, Dec(2000) = -59:37:44) followed by the acquisition of a Telluric standard. The sample OBs will illustrate the use of a variety of features of p2 and the kind of decisions to be taken at the time of preparing in advance an observing run, as well as some aspects that are specific to the preparation of Containers and OBs for XSHOOTER. In this imaginary observing programme, we wish to observe Eta Car with a specific perpendicular slit orientations followed by a Telluric standard. The two observations must be taken in immediate succession.
1: Getting Started
The Phase 2 process begins when you receive a communication of the ESO Observing Programmes Office (OPO) communicating to you that the allocation of time for the coming period has finalized and that the results can be consulted in the corresponding Web page. You follow the instructions given by ESO and find that time was allocated to your run with XSHOOTER. Therefore, you decide to start preparing your Phase 2 material. First, you collect all the necessary documentation:
- The XSHOOTER User Manual.
- The VLT Service Mode instructions.
- The documentation to the help section about p2 referred to above.
2: p2
2.0: p2 demo
For the sake of this tutorial, we will use the p2 demo facility: https://www.eso.org/p2demo
This is a special facility that ESO has set up so that users who do not have their own p2 login data can still use p2 and prepare example OBs (for example, while writing a proposal to get the overheads right!). You cannot use it to prepare actual OBs intended to be executed. When you prepare such OBs you should use your ESO User Portal credentials for p2 (with http://www.eso.org/p2).
After directing your browser to the p2 demo facility the main p2 GUI will appear as follows:
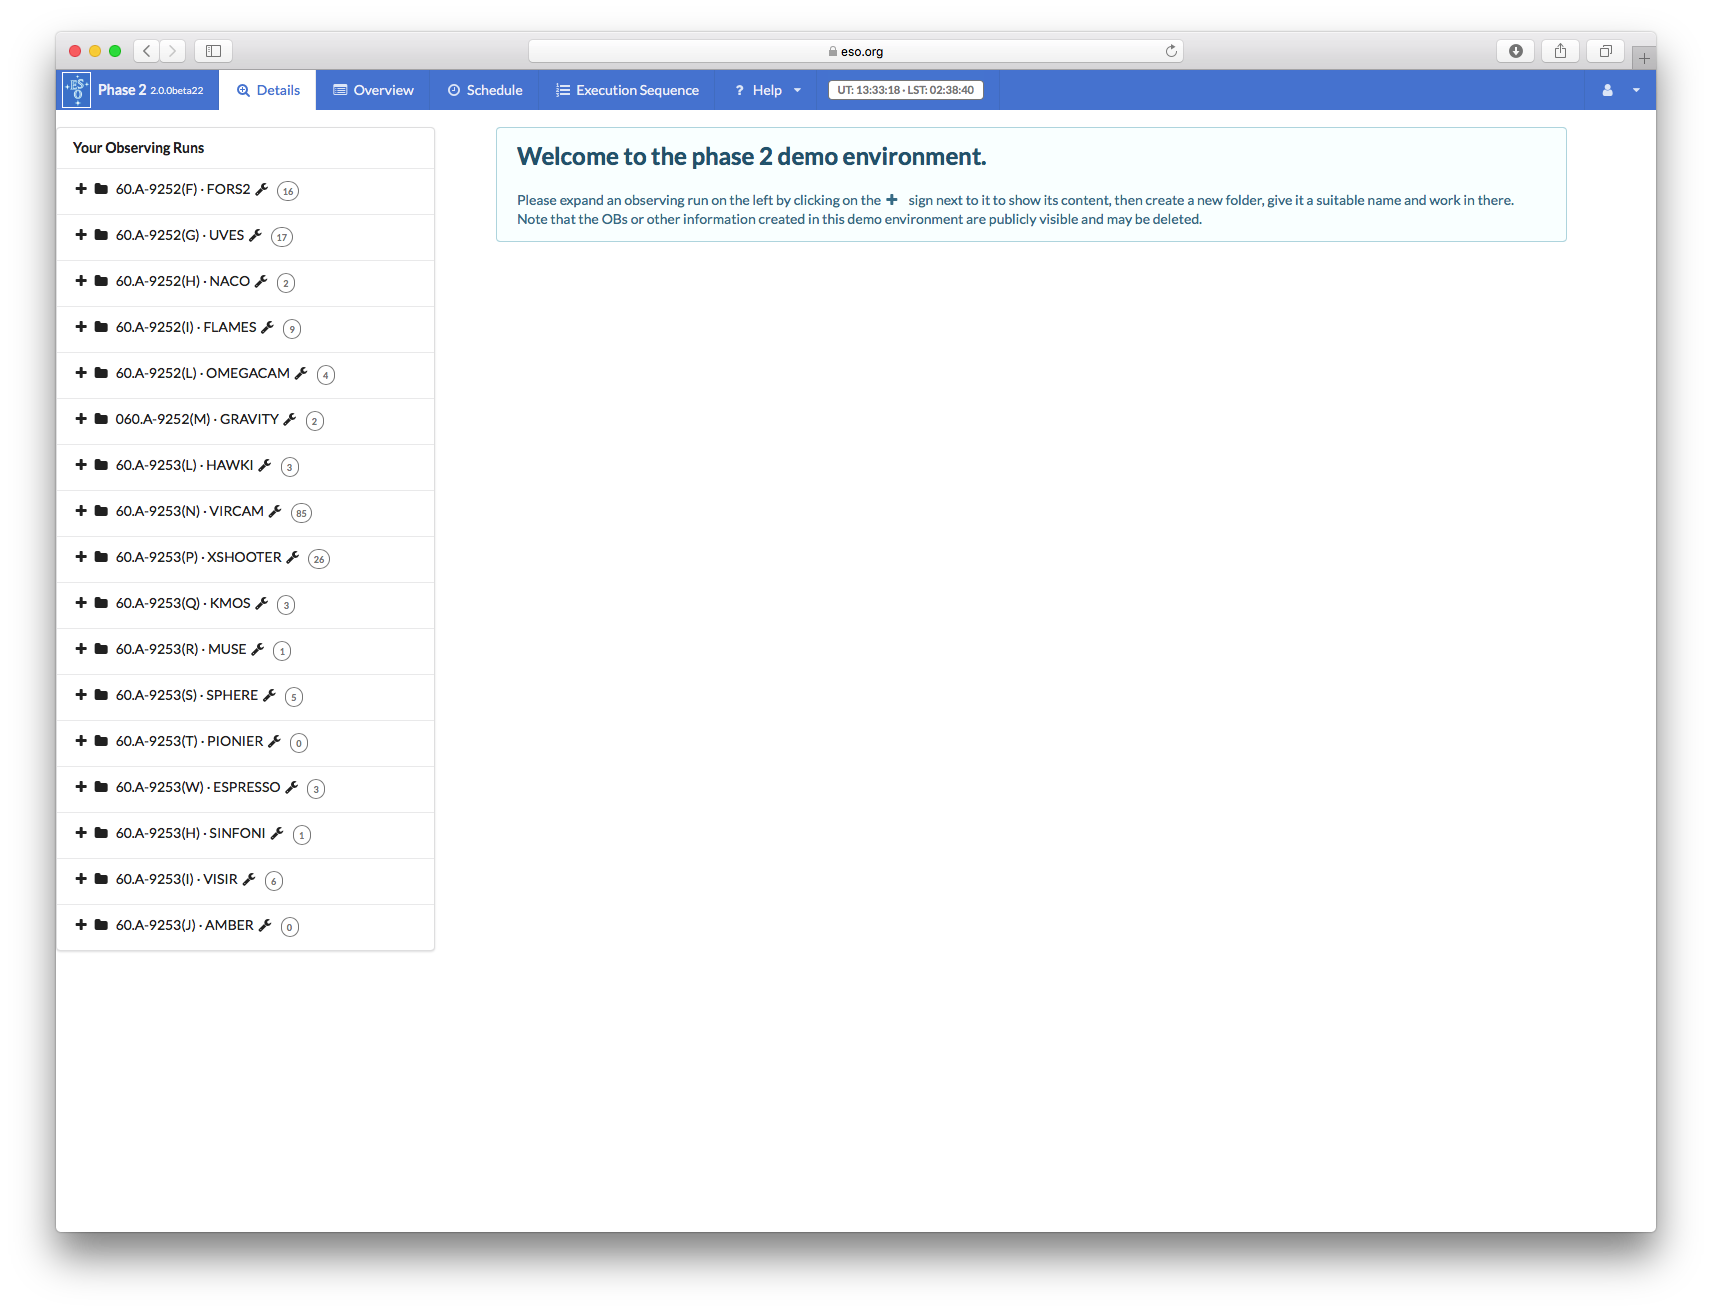
Runs for a number of instruments appear in the lefthand column, since the p2 demo facility is used for all of them. Similarly, if you log into p2 (instead of p2demo) with your own ESO User Portal credentials, you will get the list of all the runs for which you are PI, or for which you have been declared as a Phase 2 delegate by the respective PI(s).
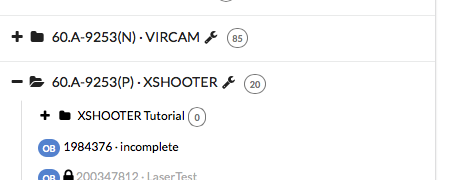
Open the folder corresponding to the XSHOOTER tutorial run, 60.A-9253(P) by clicking on the + icon next to it. In this tutorial we assume that time was allocated in Service Mode. This is indicated by the small wrench icon that appears next to the RunID. "Inside the run" you will see (at least) one folder, called "XSHOOTER Tutorial". That folder contains the final product of the tutorial you are now reading. You can refer to the contents of that folder at any time, perhaps to compare against your own work.
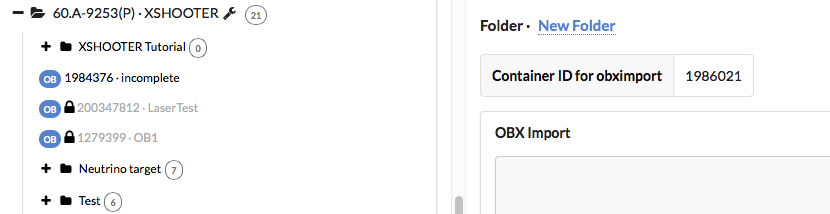
You can now start defining your observations. In the p2 demo you must first start by creating a folder, within which you will put your own content.You can create a folder by clicking on the icon New Folder. Please notice that a folder named by default New Folder will appear at the bottom of the list of items in the run.
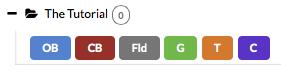
You can give the folder a new name by clicking on the blue 'New folder' text on the top, in this tutorial the name will be "The Tutorial", but you can set the name of your folder to be (almost) anything you like.
Important: because the p2 demo is on-line and accessible to anyone you may see folders belonging to other people here, though after-the-fact clean-up is encouraged and possible.
2.1 Creating a loose OB
Please see here detailed instructions on how to create an OB.
3.0: Creating a Concatenation container
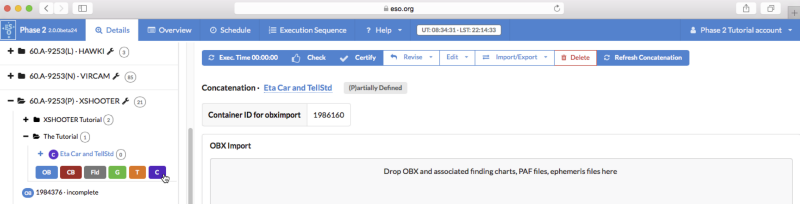
To create your first Concatenation please open the new folder you created by clicking on the + icon next to it and then click on the purple C icon to create a Concatenation container. The newly created Concatenation will automatically be selected and displayed in the main part of the window. As for the case of the new folder you must click on the blue name field near the top to rename the group.
Hence, please rename the Concatenation to "eta Car and TellStd".
3.1: Creating OBs inside a Concatenation container
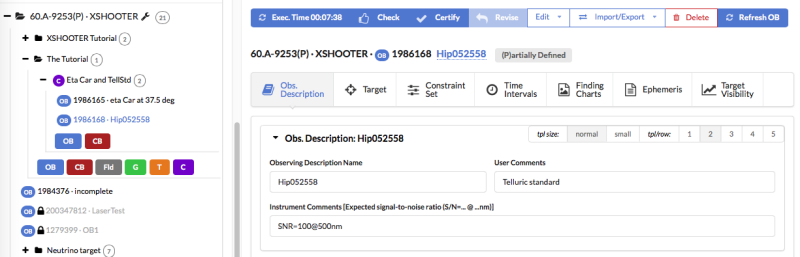
You can create an OB inside the Concatenation by expanding the Concatenation using the + icon. Then click on the blue OB button. The new OB will appear inside the Concatenation container. The OB can be filled as a normal loose OB. Please see details in the OB tutorial here.
In the example shown in the figure above, we have created 2 OBs inside the Concatenation the science OB that must be followed by the observation of a Telluric Standard.
4.0: Making more OBs
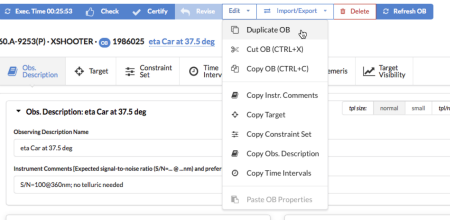
In the case that one wants to add one more OB to our Concatenation, the easiest is to duplicate the OB that has already been made (Edit>Duplicate OB) or by creating a new OB (OB blue icon).
5.0: The Schedule view: Setting Concatenation priorities
The priorities of each individual scheduling container can be set by accessing the Schedule view. Please select the Schedule tab from the tabs available on the top bar of the user interface.
The schedule view lists names of all OBs and Containers and indicates whether the OB is complete or if there are basic parameters missing. The function of the Schedule view is to get an overview of the User Priorities for all the OBs and scheduling containers, and to set-up the observing strategy for the run by adjusting the relative execution priority between different OBs and scheduling containers.
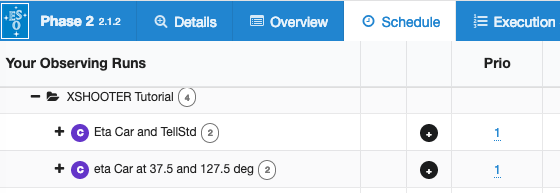
The User Priority value can be edited by clicking on the number in the ”Prio” column. The default value is 1, but it should be changed by the user. The lower the User Priority value, the higher the priority for the execution of the given OB and/or container. The lowest priority is assigned to OBs and containers with the User Priority value of 10, and the highest priority is marked by assigning User Priority equal to 1.
6: Finishing the preparation: Check, Certify and Notify ESO
Please see here a description on hoe to conclude your preparation.